A Guide to Making an Architectural Model
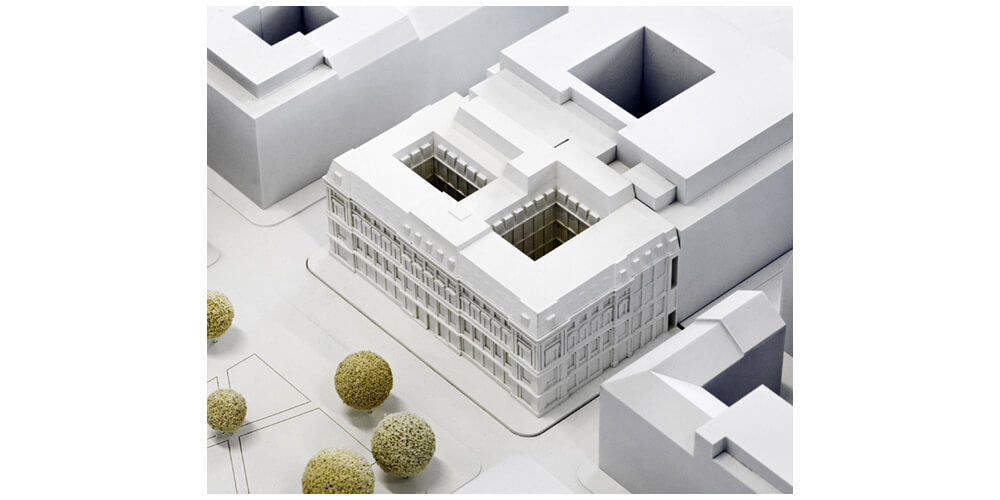
Architecture design models provide a physical representation of a building or a structure. Bridges, homes, and condominiums are examples of structures for which models are designed. The designs are made to scale, though much smaller than the actual projects’ scales. In the past, architecture models were made exclusively by hand. Today, due to massive technological advancements, model-building can be done through digital methods like 3D printing and laser cutting.
The step by step guide below provides a detailed model-making procedure.
1. Defining the model
The first step in making a model is defining it by answering questions like,
- What is the purpose of the model?
- What problem is the model trying to solve?
- What story are you telling through the model? etc.
Defining the model can also be answered through the type of model you want to build. They are of three types;
- Conceptual model: This one is made to bring out the initial concepts of a project. It is an early view of the design. A conceptual model is made of basic shapes and formsto determine the structure’s spatial layout and ratio to its surroundings.
- A working model: This is a fairly-detailed model with finer and higher quality materials that show design and specification.
- Presentation models: these types are more detailed than the two previous models and, in some cases, illuminated to enhance spatial awareness.
2. Decide the model boundary
Determine what needs to be included in the model and what to be left out. Your choice of model will also control how detailed your model needs to be.
3. Determine the scale
Architectural models typically range between the scales of 1:10 and 1:1200. On the other hand, urban models range between 1:500 and 1:2500 based on model space coverage.
4. Find the right materials
Material choice is determined by factors such as your model type, durability requirements, and expertise level of the profession involved.
5. Cutting and assembling
The first actual step to constructing a model is cutting. Cutting tools include precision knives, scissors, fresh blades, and L- squares. You will also need a ruler for precise measurements and a self-healing cutting mat to serve as a cutting surface.
6. Assembling
After cutting all the pieces, join them together to form the model. The different types of glues used in sticking materials together include a stick, wood, white, and hot glue.
Double-sided tapes are also used to attach materials. However, practice caution when using double-sided tape, as is it strong and removing it may tear the board or foam surface.
7. Finishing
At this stage, some bit of creativity on your part will come in handy. Different materials can be used to bring out different qualities of finishing. For instance, a good metal finishing will require finely polished metal sheets.
8. Furnishing
For furniture, you can either buy or make your own. Workable furniture materials include colored foam sheets and clay.
For landscaping, you will need lighting, flooring, vegetation, and water elements.
Final Thoughts
It is vital to organize yourself and carry each step carefully and with precision for a great result. Remember, each step significantly impacts the outcome. Therefore, you will need to pay attention to detail for success.